I want to start with admitting that I wrote this article before on this blog. I renamed it but the content is the same. The reason for this is that it fits perfectly in my ‘What can InfoPath do for you’ series. This article fits perfect in one of the newest advantages:
Retrieving information from SharePoint lists
One of the coolest new features of InfoPath 2010 is the integration with SharePoint lists. In this article I want to show you how you can use data from a SharePoint list within your InfoPath form.
I created a customer list in SharePoint:
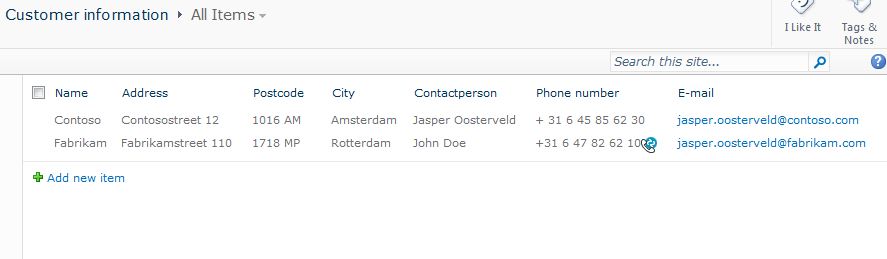
This list can be used to centrally manage information for an InfoPath form. I also created an InfoPath form:
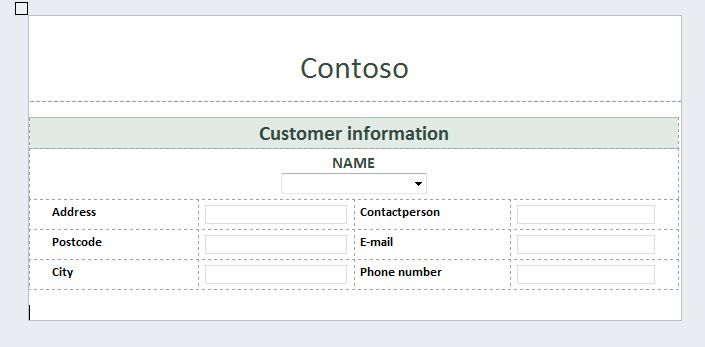
My goal is to let users select a customer and automatically the customer fields will be filled with the details from the SharePoint list. This makes filling out a form a lot faster for your users. This will make them pretty happy!
I am going start with creating a data connection to the SharePoint list. Click in the ribbon on Data and Data Connections:
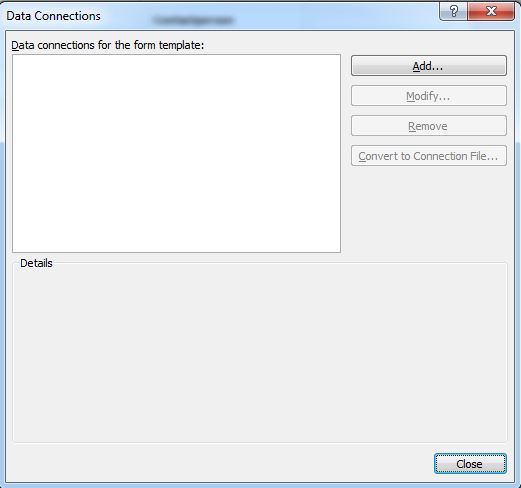
Click on Add:

Don’t change the settings and choose for Next:

Make sure you select SharePoint library or list and choose for Next:

Type the URL of your site and choose for Next:
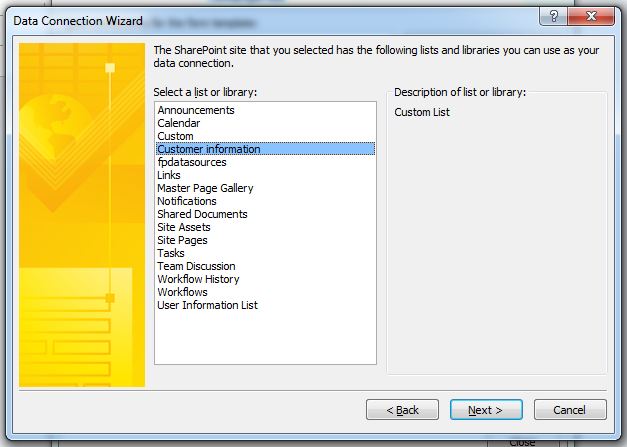
Now choose the list you want to connect to InfoPath and choose for Next:

You can now select the columns from the SharePoint list that can be used in InfoPath. Now choose for Next. Do the same for the following two screens.
The data connection has been configured. I can now attach it to the customer name selection control in the InfoPath form. Go to the InfoPath control and select the properties:

Make sure you choose Get choices from an external data source. In our case we only have one so it is automatically selected.
We can configure the remaining fields to load the data from the SharePoint customer list. We are first going to start with the Address field. Open the properties of the Address control. Click the formula button to enter a default value. Click Insert Field or Group. Select our data connection under Fields so you get the following screenshot:

Now select Address and click on Filter Data and Add. We are now going to connect the name of the customer from the SharePoint list with the name field of the customer in the InfoPath form. InfoPath understands that the address field is connected to the customer name field from the SharePoint list. It needs to look like this:
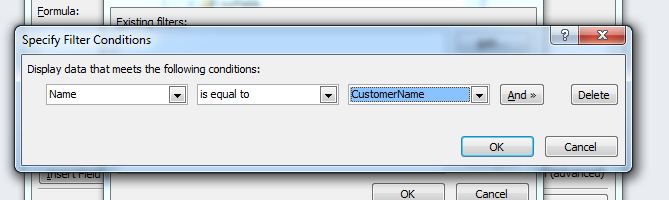
Name comes from the data connection and CustomerName comes from the InfoPath form. I hope this makes sense.
Perform the same actions for all the other fields and also set them on read only. I can now open the form and select a customer name. The form will look like this:

By using SharePoint lists as input for your InfoPath form you don’t have to edit the form every time you need to add another choice. You can also let your users manage information from SharePoint. This works really well. This also works with SharePoint Online 2010 🙂 I also want to give credits to Laura Rogers who inspired me to write this article 🙂 Please let me know if you have any comments are questions!
I have a problem. My original list is sorted alphabetically but when I set up a link in this way then the new list shows up with no apparent sort order. How do I make it retain the original sort order?